So, I’ve finally tried dermarolling, which is a microneedling process that pricks your skin in order to stimulate collagen and potentially reduce wrinkles, scars and discoloration. For those of you who have tried it, you would know it’s not as scary as it sounds especially if you are conservative in your selection of needles. In today’s post, I’ll briefly share my first-time experience using a 0.5mm dermaroller, as well as how to dermaroll at home.

My motivation in creating this post is to have it serve as an instructional manual for myself. Can you believe it that I spent close to 2 hours figuring out how to do it the first time?
As you see, there were differing and sometimes contradictory instructions online. For example, some suggested spraying the needles with alcohol to sterilize while others mentioned the need to soak them in alcohol. Some said you can roll it diagonally while others said that is not good to do so. And do I apply serum before or after the needling session, or both?
Therefore, this post is what I am deciding for myself which instruction to follow for each step of the dermarolling procedure. Here we go!

I’m using a cheap 0.5mm Dermaroller
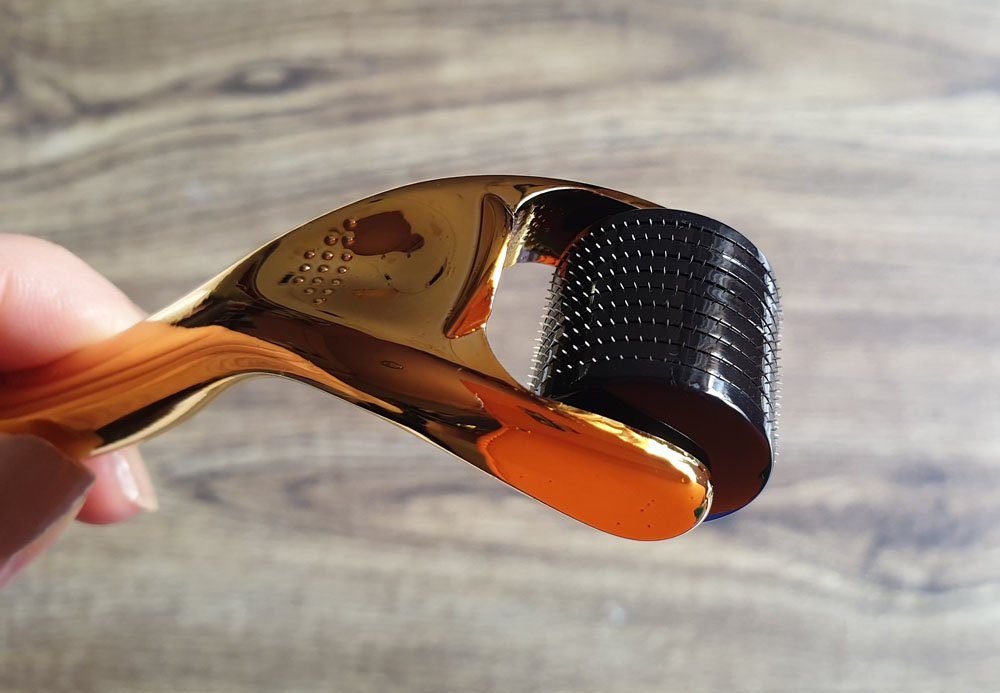
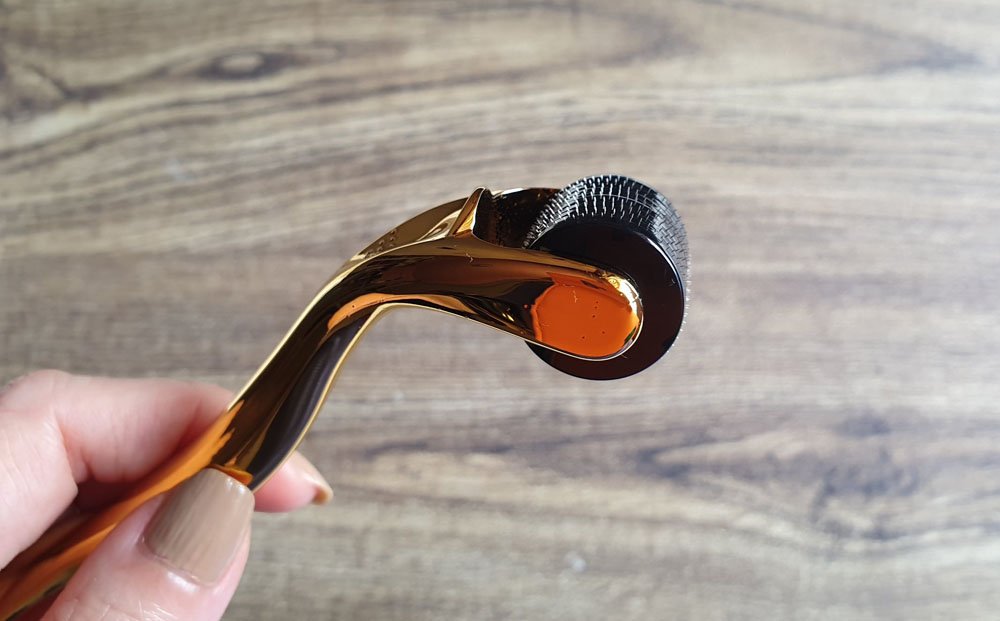
First of all, let me introduce my dermaroller. It’s one that I got from Shopee at less than S$4 including delivery. If you think the low price means inferior quality, let me assure you that the elegant golden piece feels sturdy and of reasonable quality.
> PROMO: Get $10 off your first purchase on Shopee

This 0.5mm dermaroller came packed in a box. When I pulled out the piece, I was happy to see the roller sitting in its own plastic case and the case was factory-sealed within a wrapper. I understand from online articles that this means that the piece was sterilized.

The Price: Do you need expensive dermaroller?
According to online articles I’ve read, you don’t have to. One doctor even said that it’s not the brand that counts, and suggested buying cheap ones from platforms such as ebay. He did however emphasize that proper technique and timely replacement of needles are very important.
Here are a few dermarollers that seem reasonably-priced as at time of writing. The one I bought is the one marked with asterisk (*):
- Dermaroller: View latest price on Amazon.
Needle Length: Why I chose a 0.5mm dermaroller
I noted that Amazon sells mainly 0.25mm dermaroller, which is good for everyday use. For me, I decided that I wanted to take on more “risk” because I have experienced harsher procedures such as VI Peel, CO2 Fractional Laser and 40% Glycolic Peel.

I thought I could handle 0.5mm prick, which is likely to give more visible results than shorter needles. But if you are new to ablative procedures, please start conservatively – at 0.25mm. Take a look at this video and see what a 0.5mm could potentially do to some.
In any case, there are longer needles (up to 2.5mm) on sale serving different needs. However, I do not recommend needles longer than 2mm to be done at-home. There are risks involved such as accidentally poking an important vessel or improper sterilization of needles that can lead to infections.
How many micro needles on dermaroller?
The one that I chose is a standard-size roller that comes with 540 needles and is 2.4cm wide. Such a piece is good for general use on the face.

If you are particular, you could get a narrower piece for difficult-to-reach places such as the nose, near the eyes or areas above the lips. There are also wider piece meant for body such as arms and legs. The following 6-piece dermaroller kits are worth checking out.
- 6-in-1 Kit for Face & Body : View latest price on Amazon
Enough of the needle intro, let me document the dermarolling steps I took.
My Step-by-Step Guide to Dermarolling (0.5mm)
As I’ve mentioned above, these are the steps I’ve decided to adopt after coming across contradicting instructions online. This is by no means the “correct procedure”, just one that I believe is ideal for my needs.
Step 1: Sterilize Dermaroller by Soaking in Alcohol (10 mins)
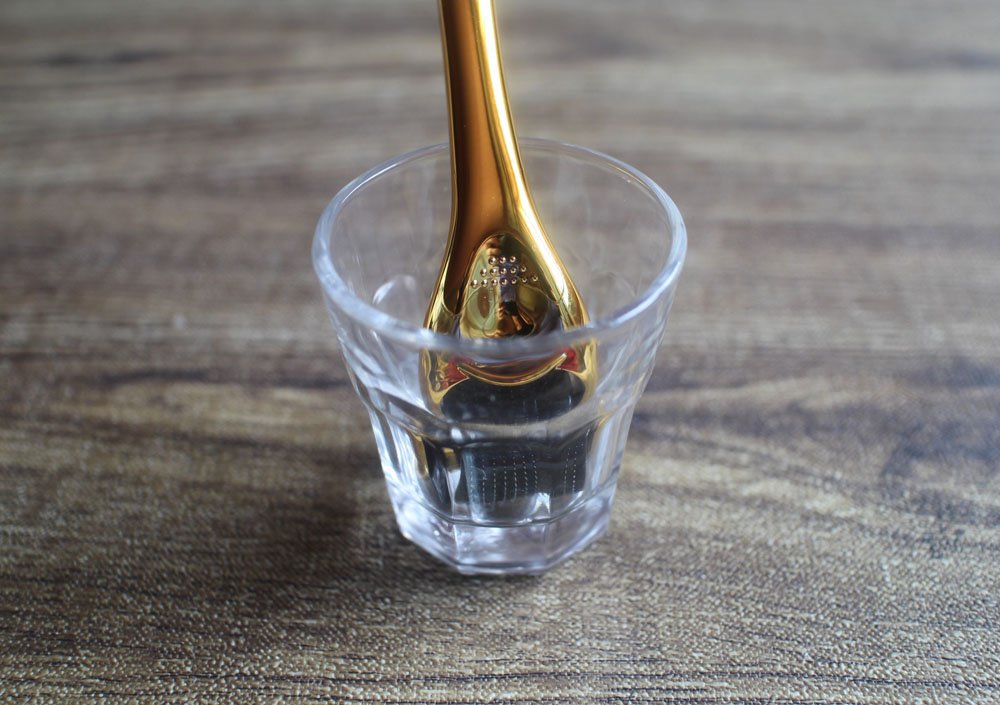
As I’m using a 0.5mm dermaroller, I’ve decided to play it safe and soak the needles in alcohol for 10 minutes instead of just spraying it with alcohol. Some have suggested that soaking the needles may cause them to blunt faster as the needles would come into contact with the glass.
However, I’ve decided to opt for proper sterilization technique than extend lifespan of roller. I would also have to live with using more alcohol than a spray method. To conserve alcohol, I use a liquor glass.

As for the alcohol, I’m using a 70% Isopropyl Alcohol (also known as rubbing alcohol). At my local drugstore, it costs S$6 for a small quantity of 120ml.
INFO: Some online articles indicated that a 70% isopropyl alcohol is better than a 99% one at disinfecting as it doesn’t evaporate as fast.

Once soaking was completed, I placed the dermaroller back onto its plastic container to let it dry completely. This shouldn’t take long as alcohol evaporates fast.
IMPT: Sterilize the container by wiping its surface with alcohol before placing the dermaroller on it.

Step 2: Wash Face & Dry Completely
Next, I washed my face with a gentle cleanser. I suggest that you use one that doesn’t foam too much. If possible, avoid those that contain a high concentration of Sodium Lauryl Sulfate.
After washing, I allowed my face to dry completely before dermarolling.
Step 3: Roll Vertical and Horizontally (8 times each)
Now comes the most important step. Following instructions from this article, I rolled each area 8 times vertically first, and then 8 times horizontally. After each pass, I would lift the roller before performing a second roll to avoid “wheel track” marks.
Each spot should receive a total of 16 passes. At the moment, I’ve decided not to roll diagonally as doing so is said to lead to “more stress on the center”.
Any pain or blood?
For the first attempt, I used light pressure and did not experience much discomfort. Neither was there any blood or significant redness.
That gave me to confidence to apply firmer pressure (not hard) on my second try. There was a bit more patchy redness, but still not a spot of blood. In both cases, the face felt slightly stingy after the session, just like how it feels when rubbing alcohol over dry or sensitive skin.
Frequency of Use: For a 0.5mm dermaroller, apply 1 to 3 times weekly. I’m starting with a once weekly routine.
The sensation may be mildly uncomfortable, but I wouldn’t categorize it as pain. Do however note that I have a good threshold for pain. Yah, I torture myself so much with aesthetics procedures such that I’m quite used to pain lah. :)
> MUST-READ: Botox to get rid of forehead wrinkles
In any case, many online reviewers also shared that this is not a painful procedure in general especially when we are talking about short needles.
Step 4: Wash Face with Water. Then Apply Serum
Once the prickling session was completed, I washed my face using just water, wiped it dry and applied serum immediately.
Right now, I’m using Hyaluronic Acid serum. Many use Vitamin C serum, but I’m quite hesitant at the moment to use a harsh product on wounded skin. Instead, I use my 20% Vitamin C serum in the morning prior to dermarolling as I understand that it can last for up to 72 hours on the skin.
Step 5: Clean & Sterilize Microneedles
When our face is taken care of, we can take our time to clean and sterilize the microneedles. I’ve decided to adopt a 2-step cleansing process:
- Shake roller in soapy warm water. Then soak for 10 minutes. Water is cheap. So I use a large container that allows the roller to rest horizontally (face up), without the needles coming into contact with the container.
- Soak roller in alcohol for 10 minutes. I then soak the microneedles in 70% isopropyl alcohol using the same liquor glass.

Step 6: Let Dry, Store it
Taking the dermaroller out of the liqour glass, I let it rest on its plastic container till it is dry. Then I cover the lid and store the roller.
And that’s all the steps. Phew! The cleansing process before and after dermarolling is quite time-consuming. Once you are familiar with the process, you can set a timer and get back to work till the timer rings so that no time is wasted.
Dermarolling: Any downtime?
My face looked perfectly normal the next day (Day 2). Even the redness experienced immediately after the procedure was gone. Hence, I conclude that the 0.5mm dermaroller is a no-downtime treatment for me.
On Day 3, my face felt a little rougher than usual and I believe there were micro scabs on it. But that’s all to it – nothing visible to naked eyes, with or without makeup on.
Any results from dermarolling?
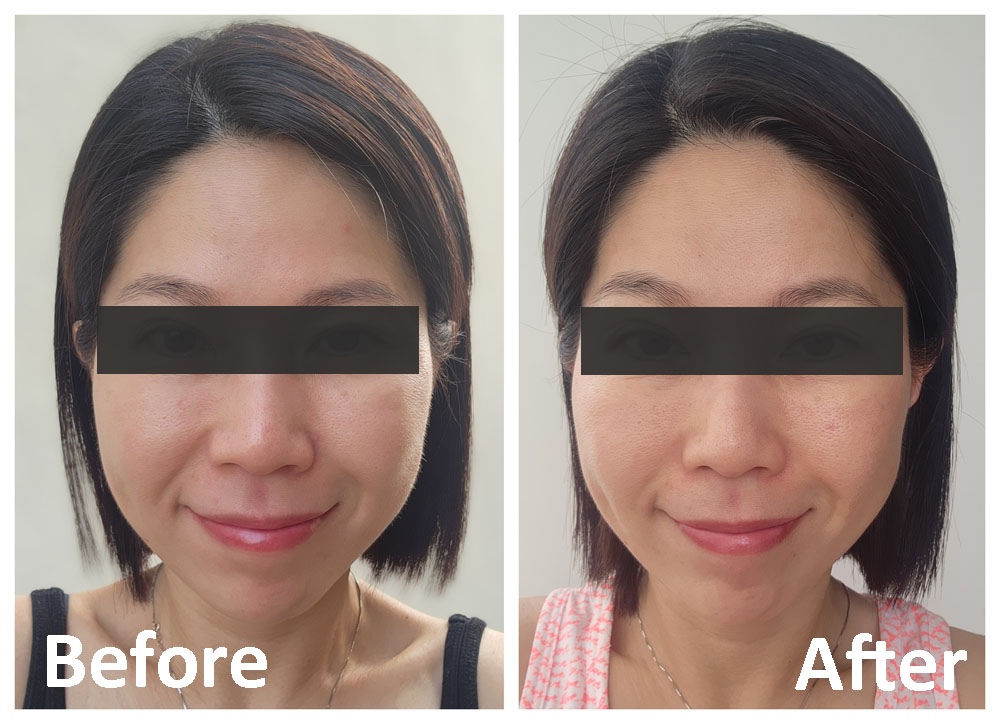
Results from dermarolling are said to take at least 6 weeks to be visible. As such, I will be patient and wait for the collagen-building process to complete. Keeping fingers crossed!
And that’s all to today’s anti-aging article. If you like to get notified to more of such beauty reviews, click the button below to subscribe. See you soon!
SUBSCRIBE
Pin This!

This post may contain affiliate links, meaning I earn a commission if you make a purchase, at no cost to you. Read my full disclosure for more info.


When I watch videos online some people bleed using the .5mm, but when I use the .5mm I don’t bleed. I’m not sure which is normal or if bleeding is important or maybe it’s the design of each individual roller.